Wednesday, March 23, 2011

Mickey Mouse Birthday for a four year old!

This last weekend, my sweet little guy turned four! He requested a mickey themed birthday party four days before the party was scheduled. On a small budget and a short amount of time, it's so easy to throw together a nice little party!

First up, was the mickey balloons that Daddy surprised the birthday boy with (and he only went in for one balloon. my husband is a total kid at heart):


We rented a small pavilion at a local park and did a bbq there. It was so easy to have the party at the park and to decorate a small space! 


To do the mickey stickers, I cut a bunch out with vinyl and applied where needed. I had left over red buckets from a spider man party, and the red and yellow paper I purchased at Dollar Tree. Besides BBQ food, we also had red and yellow drinks (kool aid and lemonade). We could have done the mickey cheese shapes and other mickey foods but we kept it simple.

Each utensil bundle had a spoon and a fork of black and yellow and the red napkins were tied with yellow polka dot fabric and a black paper mickey head.


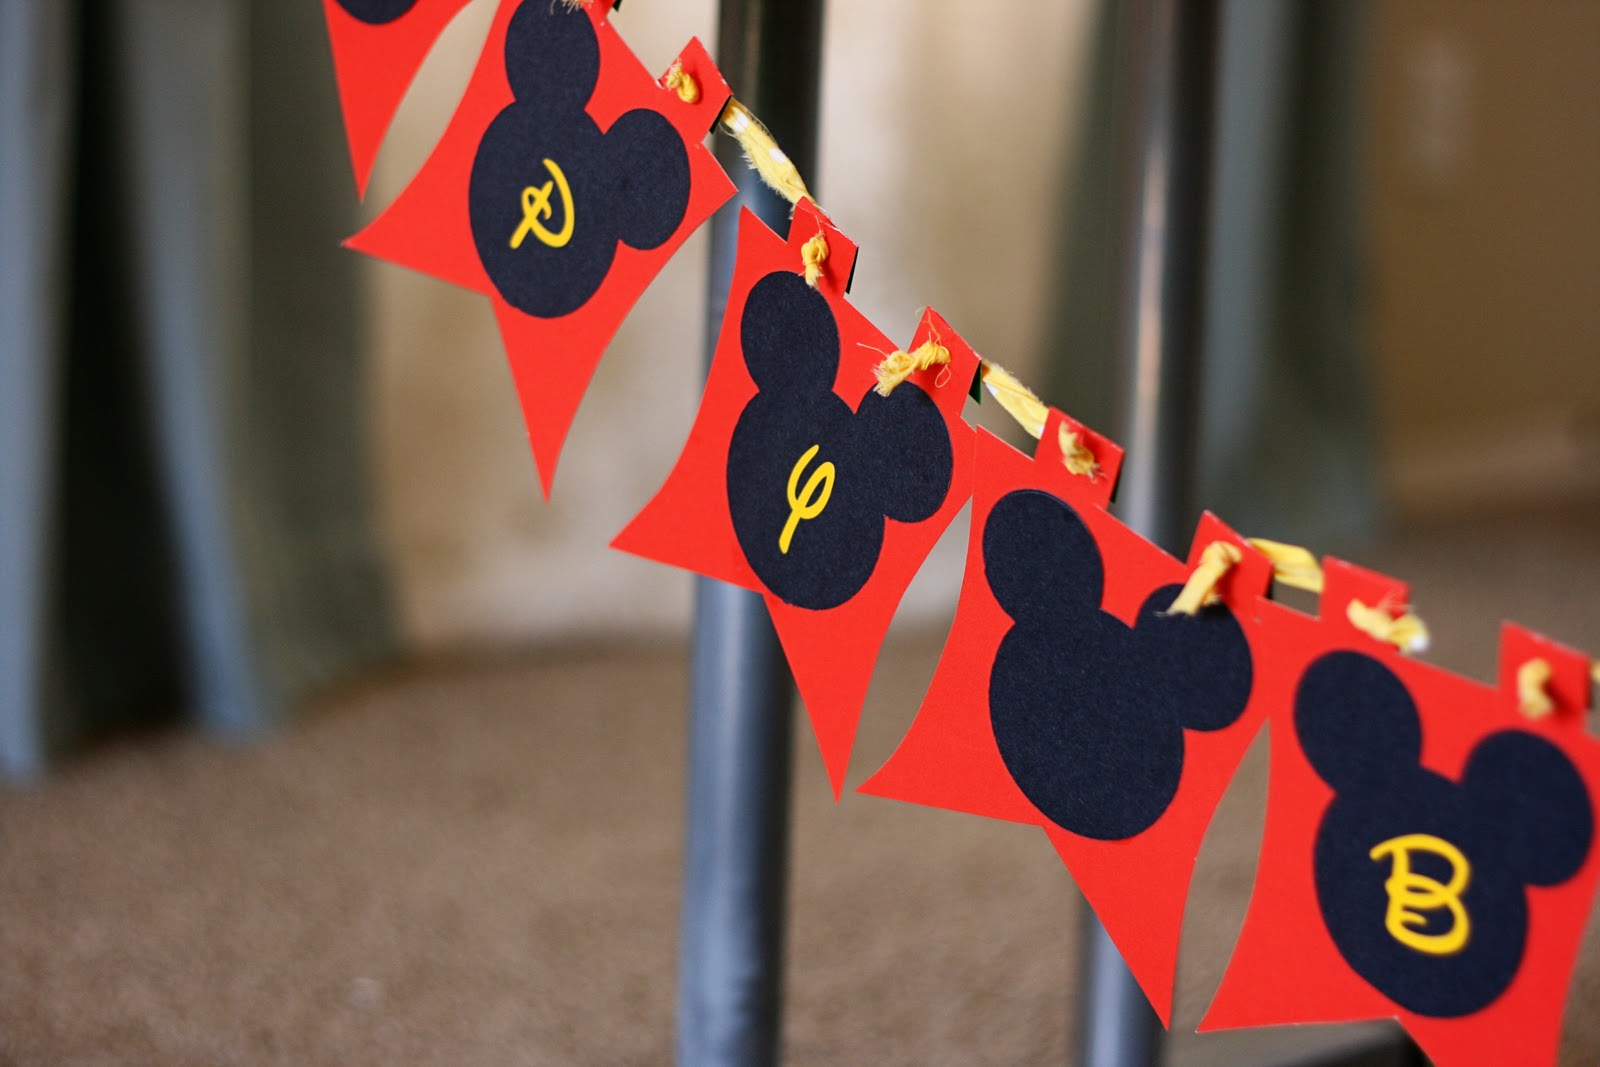
The banner was cut out on red poster board, and then the mickey heads were black poster board. 


For favors, we thought it would be fun to do a pinata and the kids fill up their goody bags with the pinata "guts"! This was the high light of the party for these little ones! I used the tutorial over at At Second Street and it really took hardly any time to put it together. The entire cost of the pinata to make it including the bags and the contents to fill it was only 13 dollars and I got everything at Target! They were having a great clearance sale on all different types of party favors and I bought a bag of the mixed tootsie rolls and also a box of fruit snacks.  The wine bags were only .24 cents a piece, so I bought a bunch of those and put a red ribbon and a mickey head on those as well. Easy Peasy!


The birthday boy was the one to break it open!


I think my favorite of the day was the birthday boy's outfit:


(He had on his ears too, but safety before fashion!) 

The shirt was from Target and I painted the hand on using freezer paper. How many fingers does Mickey have? Four! 

The shorts were made from a clearance tshirt I had also picked up at target for only 1.25.  I used a pair he already had here and made my pattern. Then I sewed on Mickey's "buttons" with a yellow tshirt scrap and then sewed the shorts together. Quick, and very inexpensive, plus super comfortable for him to play in that day as well. 

For the cake, we went simple and did Mickey Cupcakes. I got the idea from Disney Family. The red cupcake liners were purchased at Target in a primary color pack in the baking aisle. I cheated and used store bought frosting and had sprinkles with it that I rolled them in. 


Sometimes, less is more. We enjoyed this birthday a lot!

Happy Birthday, Jackson! Hope it was your best yet!

Pin It

Saturday, March 12, 2011

Ruffled Tights

I saw this idea on pinterest and decided to whip up my own. I had the supplies on hand and it was such a quick little project!

I used an old pair of tights, cut off the feet part stretched leg onto sewing machine and then sewed on the lace row by row until it filled up.


Not sure about the boots with it, but I adore the ruffles! I might hike them up a bit more and just put mary janes on her like the picture showed.


and the model is even cuter ;)


Pin It

Tuesday, March 8, 2011

Ruffle Cardigan Tutorial

As usual, I get busy, distracted or bored and move on and forgot to post the tutorial I had promised.

I was on pinterest tonight and stumbled across this tutorial that reminded me I had never posted it!

So if you'd like to make a ruffle cardigan, this tutorial is the perfect way to do so and I don't feel bad not posting the one I was going to do! ;)


Pin It

Thursday, March 3, 2011

Let It Rain

Last night,  the kids and I were driving and a song came on that asks God to "let it rain" and to "open the flood gates of Heaven".

 My oldest asked me why would we sing a song to ask God for it to rain? It boggled his mind why we would want it to rain if we don't need it.  I explained to him that when we sing that song, we are asking God to show us His love, and that its to "pour down on us" of how much He loves us, and that we feel it. I explained to him that opening the flood gates would be a rushing out of love, like water running really fast.

Today, God answered a prayer, one that has been on my mind for two years at least. Sometimes, I feel like when I pray for something, when it's not answered right away, or the way I want it to be, that it gets discouraging. Last night, I wrote a journal entry in a book I have that was almost two years to the date of a previous entry dealing with the same problem. I prayed about it, seeking to find an answer. I woke up this morning, praying, thinking, seeking. God always sends a message at the right time, because during a conversation today, He gave me an answer on how to deal with it. Although I still don't know what He is trying to teach me through this, I learned one important thing that I think we don't realize. Just because God says to give it to Him and He will help us through, does not mean at that point dealing with the problem is easy! Maybe this is just totally obvious to you, but it was a giant light bulb to me. I always think, "Well, I gave it to God. Why am I still dealing with it? He didn't answer that prayer." Then, like the song, I saw His glory. I felt His love. The problem won't go away over night, but thank You, Lord for helping me through it. Today, I felt You rain down Your love, and I felt the flood gates open. 


Pin It

Friday, February 25, 2011

Ruffle Cardigan

This afternoon I drew up a pattern to make this ruffle cardigan to do a tutorial! All I need to do is tweak it in a few spots (mostly the back) and I will add it here with step by step directions. We have a bunch of sickies in the house still (me included) but I am hoping there will not be too much of a delay.

Here's a sneak peek!


Pin It

Saturday, February 19, 2011

Martha Stewart Fringe Scissors

I know it seems like all I do is sew anymore, but I really do other things too! Since I still really enjoy scrapbooking and love some of those fun vintage trends on pages right now, I was so excited to see that Martha Stewart makes fringe scissors now!
I was planning on ordering them, because its a lot easier than taking my crew to Michael's (since I knew they sold Martha Stewart) but decided to wait until my next amazon order (I buy my laundry detergent among other things on amazon :)). 

Last night, the baby and I snuck out of the house for a bit to escape the sickness that has taken over our family. Stalling the inevitable, we walked around Joann's until we had seen everything. The last place we walked around was the greeting cards, and low and behold, do you know what we stumbled upon? A Martha Stewart line. Maybe this isn't new there, but it sure was new to me! I got even more excited when I saw the fringe scissors, on SALE! Score! I may have even done a happy dance. 


I really think there are a lot of possibilities with these fun and funky scissors. I love the look of festooning and now with these, I can make my own! 


 So many possibilities! What else can you use these for? :)
Pin It

Thursday, February 17, 2011

So I was cleaning out the baby's closet...

getting rid of the clothes that no longer fit (that's always really difficult for me to do!) and I realized that about half of her clothes that fit now are handmade by me. I hung up the handmade ones and took a picture:


How cool is that?


Pin It

Saturday, February 12, 2011

Prudent Baby Pretty Party Dress

Don't you love free patterns? I always think its so generous and cool!


I found this one recently over at Prudent Baby and since it was a size that is perfect for us right now, I thought it would be a fun Saturday sewing project! 

I lengthened the sleeves quite a bit to make it a 3/4 length sleeve, skipped the cuff and also lengthened the dress a lot (I have a long legged little one who is off the charts in height and also 13 months old). I think if I had made it the pattern length, it might have worked as a tunic instead. 


She loves her purses. And what party dress isn't complete without a sequin purse?


Pin It

Wednesday, February 9, 2011

Patching up those jeans part II

Over the summer, I posted about patching jeans. Although they worked great, my knobby knee-ed boy has now holed up four pairs of school jeans, leaving him down to one or two good pairs. I love creative and fun patches, but I wanted to tone it down a bit for school. I had bought a bunch on sale, because his school dress code is either school uniform (only way he can wear shorts) or jeans without holes. So it was time to patch them up so that I wasn't having to wash every other day.


My husband was fortunate enough to have such a sweet grandma that would always patch his jeans up for him. Even when we were dating, he would work on cars, rip his pants out and send them down to Grandma, who would patch them up so sturdy and nice for him again. I thought I would patch Jaden's up using the same method that she used.

The challenging part between doing my husband's pants and doing my son's is the size difference. It is a LOT easier to put pants on through the sewing machine from an adult than it is a skinny pant leg. I wrestled and sweated and pricked fingers and groaned, but I did it!

Here's how the whole process works:

Gather thread, recycled denim for patches, sewing machine, scissors ands jeans to mend.

I chose a bunch of different colors so I could match the thread up a bit to the jeans I was mending. The bobbin color doesn't matter if you only sew on the right side


The denim that you are using as patches also do not matter in color because it will be inside of the jeans, unseen.


Now cut a patch out thats bigger than your hole:


turn jean leg inside out, and pin patch over hole, making sure it covers all the hole and the weak material.


Turn leg right side out. This is what you should now see:


Next, place pant leg on machine. Its tough, and it's tight. I don't know if  I would have been able to do a pair smaller than his 5t pants.


Set machine to a zig zag stitch and stitch in rows as close as possible above, over and below hole. Your finished product should look like this:


Turn leg inside out again, remove pins and carefully trim patch.


Finished! Congrats! You just saved yourself at least 10 (for a cheap pair) dollars! And really, with the right color thread, its a great fix. Its hardly noticeable, especially when caught early. Here's the first one I did, the hole is a lot larger and the thread is lighter, but it still works. Its also super messy sewing. Doesn't have to be perfect! But I do think this shows the final results better when knowing how to sew the patch on.


The other two ways that I mended his jeans were to take large denim patches, cut into squares and sew on front as typical patches. I did it in a different color to give it a bit of variety.

The last way I mended his jeans was on the bottom of the pant leg. I buy his jeans long and cuff them so thats he can grow into them, but then he walks on them anyway and puts big holes in them. I cut the frayed and holey mess and sewed in a new hem using another old pair of jeans that had to match in order to blend in. Good as new!

Doing this entire project saved a pair of old navy jeans, two children's place jeans and a pair of target jeans.  Success!

Pin It

Monday, February 7, 2011

Dress tutorial coming soon :)

So maybe I am kind of a nerd, but every Saturday practically since she a couple of months old, I have loved to try to make it a goal to make Ellie a dress for church on Sunday. Whether or not she wears it that week (because she has cute store bought clothes too!) doesn't matter as much. Sometimes, I design it myself, sometimes I take something I have bought and copied it, and sometimes I will use a pattern. Its been fun thinking of new things, using fabric up that I have on stash (I rarely buy) and challenging myself to learn new things!

This Saturday, I used up some velvet I had here. I took two different dress ideas and combined them into one. The whole time I was sewing, I kept telling myself to go get the camera to make a tutorial but since I was kind of winging it, I didn't feel like I should write down the process. I think this almost every time, and then regret it. If I followed through with those thoughts, I think i would have a ton of tutorials up! Argh!

So this time, I am going to go ahead and remake it so that I can do a tutorial. ;) It  won't be anything fancy, but I love when people share their ideas and processes, why wouldn't I want to do the same?

Here is a sneak peek!

Pin It

LinkWithin

Related Posts with Thumbnails