What can you do with some curtains, sheets or even an old muumuu? Lots of things, of course! I got a pretty flat sheet from the thrift store and made it into this:
Do you want it? I am giving it away this week at
Thrifty Decorating! Leave a comment at her blog this evening through Thursday and you can enter to win it Friday! Follow me and leave a comment that you did so and receive an extra entry! Follow her and leave a comment that you did so and receive an extra entry! That is three chances!
Tutorial:
First let me apologize for the dark pictures. Sometimes, my sewing is done late at night once the kids are in bed :)
Using a flat sheet (because of the finished hems), an old curtain to use for trim, and ric rac and two d-rings I had here, I made up this thrifty little tutorial so that you too can make this apron.
(please don't gauge the pieces in picture to actual measurements for apron. there's extra pieces and different sizes of fabric. this is just an example of the three coordinating fabrics you will use.)
For Apron Body, you will need two pieces
- for top, cut 13 inches W x 12 1/2 long.
- for bottom, cut 24 inches x 24 inches
For straps you will need:
- 2 d rings
- 2 fabric pieces 4 inch x 36 inch long (side straps)
- 1 piece 4 inch x 3 inch long (for d rings)
- 1 piece 4 inch x 24 inch long (neck strap)
For pocket you will need:
- 1 7x7 cut on fold, or 7x14 not cut on fold
- 1 7x3 cut on fold or 1 7x6 not cut on fold
- ric rac
Bottom Edge
- 1 4 inch x 25 inch piece
- ric rac
Let's start cutting and sewing!
For the top, see how i used the top of the sheet for my top hem? it makes it sturdier because the hem is bigger than the bottom of the sheet would be.
now fold this in half and cut diagonally 2 1/2 inches at your starting point
Open your piece back up and you should have a trapezoid.
(trapezoid in case you need a picture :))
Now fold over 1/4 an inch on sides, iron and fold again, and iron. Sew. This is your side hems for the top. (Your bottom edge of the top should still be raw)
Now let's make a pocket. I am using old gingam fabric and an old curtain for the pocket and the straps.
Cut your pocket on the fold 7x7 (sorry i dont have a picture of this)
The cut your trim piece on the fold, 7x3 (or you can just cut 7x6 and fold it)
Trim piece:
now fold into the center on both sides and iron.
The fold again and iron
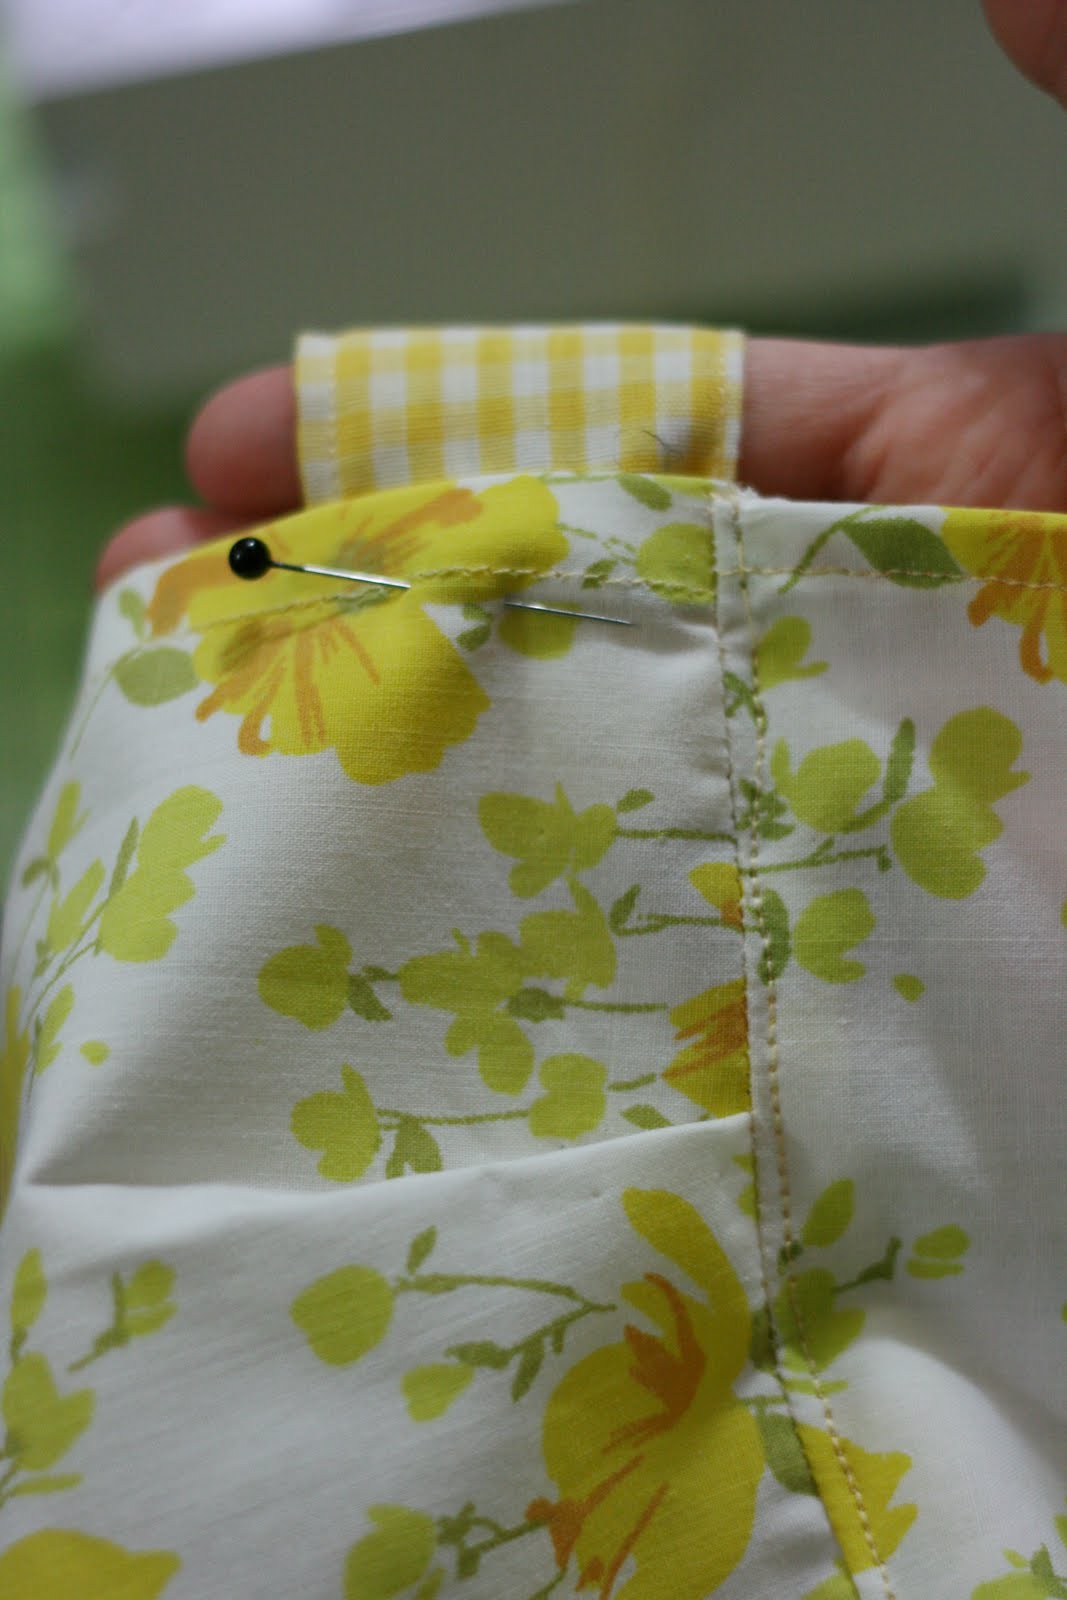
insert your pocket into the trim piece so that the trim pieces sandwich the raw edges. the fold of the pocket should be at the bottom.
now sew the trim on:
add ric rac over the sewn line: pin and sew
fold side edges in on wrong side of pocket and iron
Pin it in the center of your top portion of your apron and then sew all three sides on, leaving top.
Pocket is complete!
Now lets work on top straps.
Fold over right sides together and sew shut to make a long tube:
Using a safety pin, turn right side out:
Then iron flat and top stitch the long sides, leaving the ends open.
Now take your tiny strap piece, slide d-rings on and sew into place across d rings:
Pin onto the top of your top piece like this:
and sew on:
Sew on your neck strap on the other edge of the top piece and then finish the edge not sewn on by folding over and ironing and then folding into a diagonal. sew into place.
top is finished! Let's work on the bottom.
Your bottom edge of the bottom piece should already be hemmed, thanks to the sheet's edge. All you need to do is the two side pieces. Fold over 1/4 inch, iron, fold again and iron, then sew for both sides.
Now we are going to take the top raw edge of the bottom piece and make pleats. If you do not want to make pleats, you can also gather it the width of the bottom of the top piece.
Fold a 1/2 inch and pin every couple of inches until your pleats are all symmetrical and the width matches the width of your bottom top piece.
Iron pleats
and sew across 1/4 inch down from edge
Now pin right sides together, and sew top of apron onto bottom of apron:
top stitch.
Tada! Main body piece is finished! Now for side straps:
Using same method as the neck straps, do both side straps, then sew onto the sides of the bottom portion of apron where top was sewn on like this:
Side straps are finished!
Now, you can stop and be done since your bottom edge is hemmed for you, or you can add more of the curtain and ric rac to finish the edge.
Fold over your 4 inch x 25 inch bottom edge and iron.
For side edges: fold 1/4 inch, iron and repeat. Sew into place. Do this for both edges.
Pin piece onto bottom of apron and sew on
Then add ric rac where you just sewed.
Your apron is now finished! Step back and admire your thrifty work!
Pin It



 Pin It
Pin It
Pin It