Showing posts with label wood work. Show all posts

Wednesday, March 14, 2012

Painted Bedroom Furniture


We were given our bedroom furniture as hand me downs when we got married, but because we have a different size mattress, the headboard (a full) never worked with our bed. We purchased the Ikea Frame years ago but then the furniture never really meshed with the feel of the room. Plus, because nothing really matched, and we go in spurts with keeping our room nice, it just hasnt been top priority.

Now that there's some order in our room again (it feels like it took two years to adjust to having a 5th person in our home), it was time to finally paint our bedroom furniture to make it ours. We put it off for a long time because of sanding everything, but I came across something from Kilz that we used for our "stained" furniture that was oil based. (It was sold at both home depot and lowes)


My husband is a whiz with a spray can and so instead of messing with painting it and worrying about brush strokes, we sanded down the spots needing sanding, primed everything with the spray paint  version of this primer and then sprayed on the latex paint with our paint sprayer, which resulted in a beautiful pained smooth pottery barn type finish.

 
As with anything, the result you get is what you put in. It definitely took him a lot of prep work to get this nice of a finish but he did amazing. We were both sick all weekend, so I helped here and there but was pretty much a baby sitting outside watching.

And how cool is he? He even took pictures of the process (without being asked!)

This was a before shot.


Sanded the water spots down with steel wool and fine grit sandpaper.


Then primed everything:


Then painted. This was a two day process. It took two coats of primer and two coats of paint.


(Random chandelier shot, picked it up at a thrift store for 10 dollars, and I love how it hangs above our handmade desk!)


I just love the results.


I still need to do something with the curtains in our room, I would like to make something for the tops of the furniture (table runners), I need to recover the lamp shade, and we need a new duvet set and a couple other things here and there, but it is so nice to finally have a unifying theme in our bedroom.  It makes me want to keep my room from being the catch all room in the house!

Pin It Pin It

Thursday, June 9, 2011

DIY Car DVD Player Holder

If you don't have a built in DVD player in your car but need something for roadtrips, check out this handy dandy system my husband did for us!


He took a scrap piece of wood and drilled holes in it for the headrests to go through, and we keep it in the middle of the car for all of the kids to see.  Also, cut off the corners so that there's no sharp edges if there's an accident.


Then he added two more holes for the cords to go through. We have a power inverter for the plug and we have a stereo cord for the sound to play through the speakers in the car.


That is also an industrial strength piece of velcro. We put one on the board and one on the dvd player to hold it in place. 


Please excuse our messy real view. All seats in the back are able to watch it! Makes a 25 hour car trip totally possible!


Pin It

Wednesday, May 11, 2011

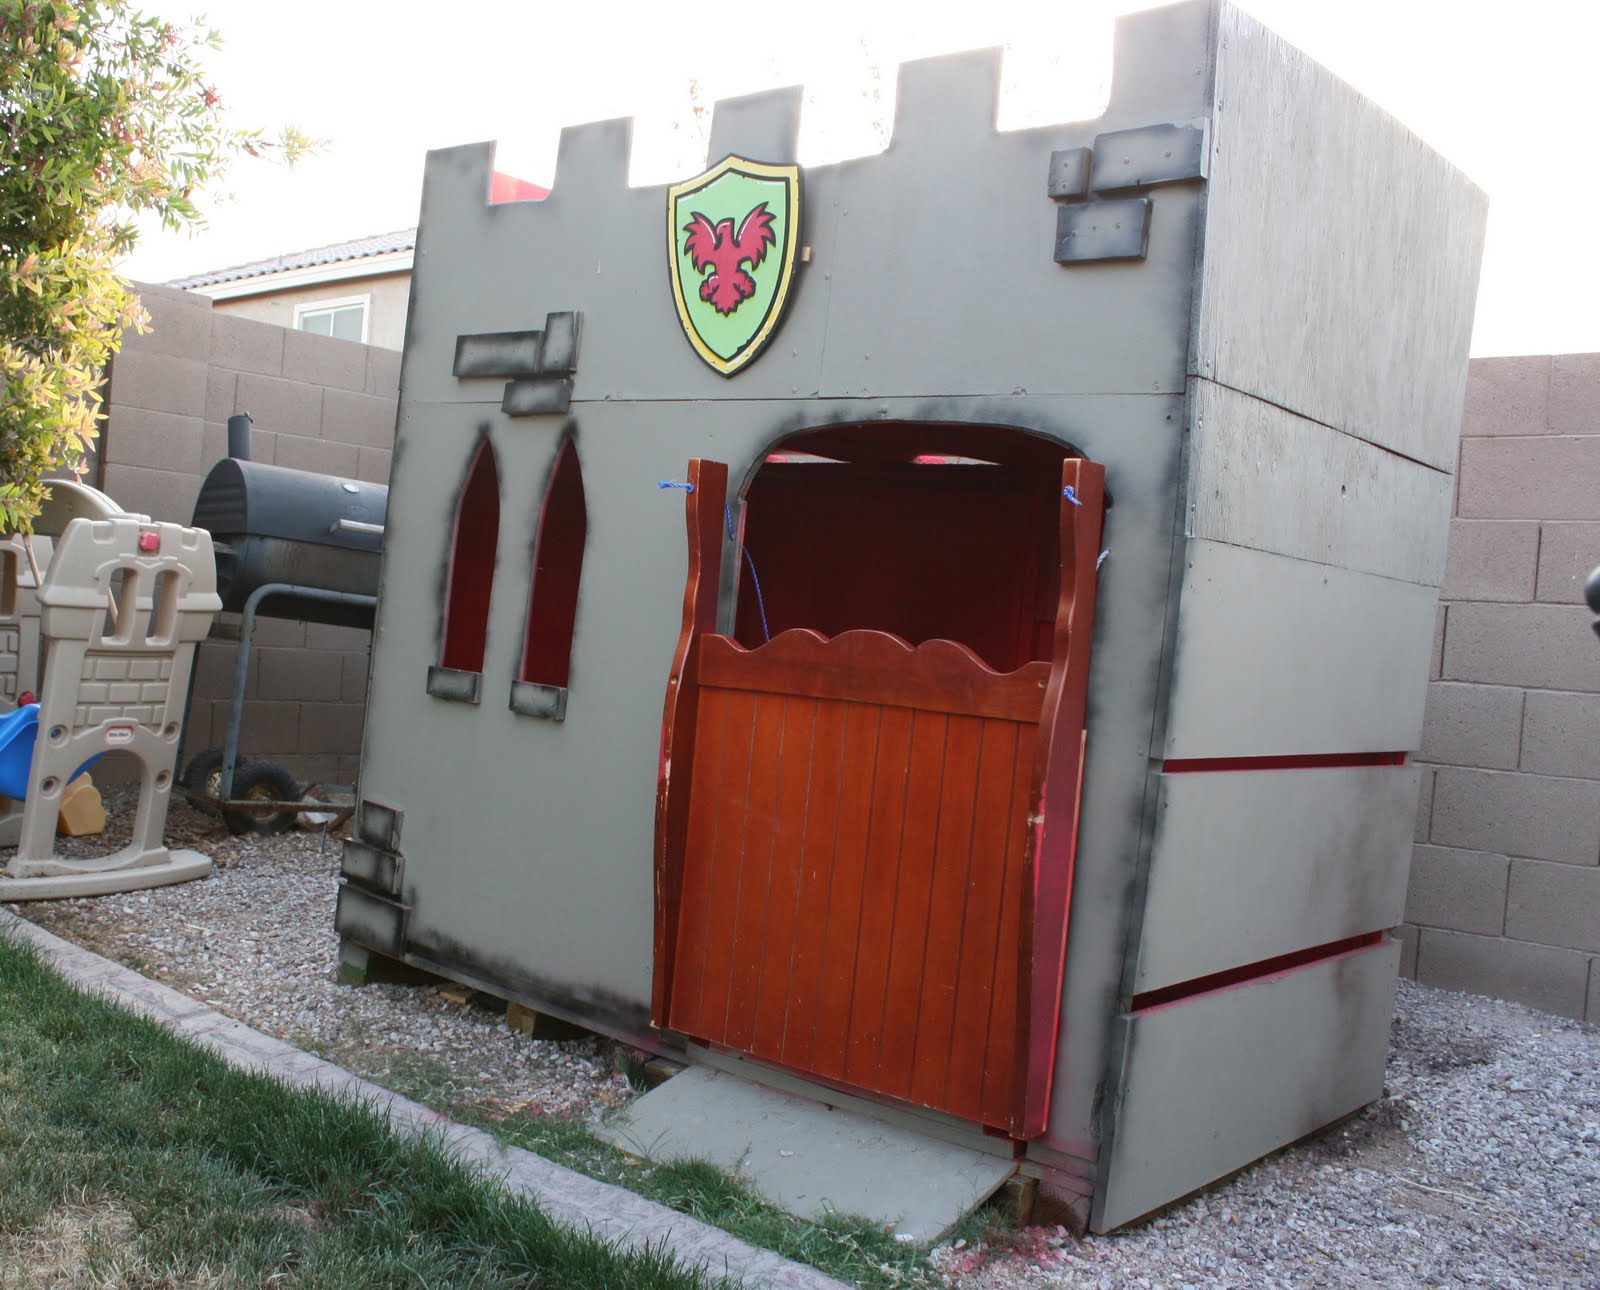
The under 30.00 clubhouse

Although this has been built for a couple of months, we still need to add a few things to it before it is finally complete. I thought I would go ahead though and talk about our "under 30.00 clubhouse"


A few months ago, I found out that my oldest was in sunday school upset one day because "he wanted to go buy wood at the store to build a clubhouse." At this point, we had no idea that these thoughts were going through his mind and then we even found out he had score a few dollar bills from our pastor to do it!

Well, my super fabulous husband decided to set to work to building the poor boy a clubhouse. We decided right away that this was going to be a very inexpensive project, and that it would be built from the cull rack wood at the home improvement store (you know, that great .51 cents a wood section? LOVE it.) and then "oops" paint from the paint sections.

Lucky husband of mine sent to work and one day stumbled upon 4  4x10  half inch mdf full sheets of wood for 1.00 total. We were extremely excited about this find because it was going to be the main body of the clubhouse. Seriously, 1.00?! How can you beat that!

Here it shows the sides, and how he left spaces between the side pieces for a little more ventilation inside.


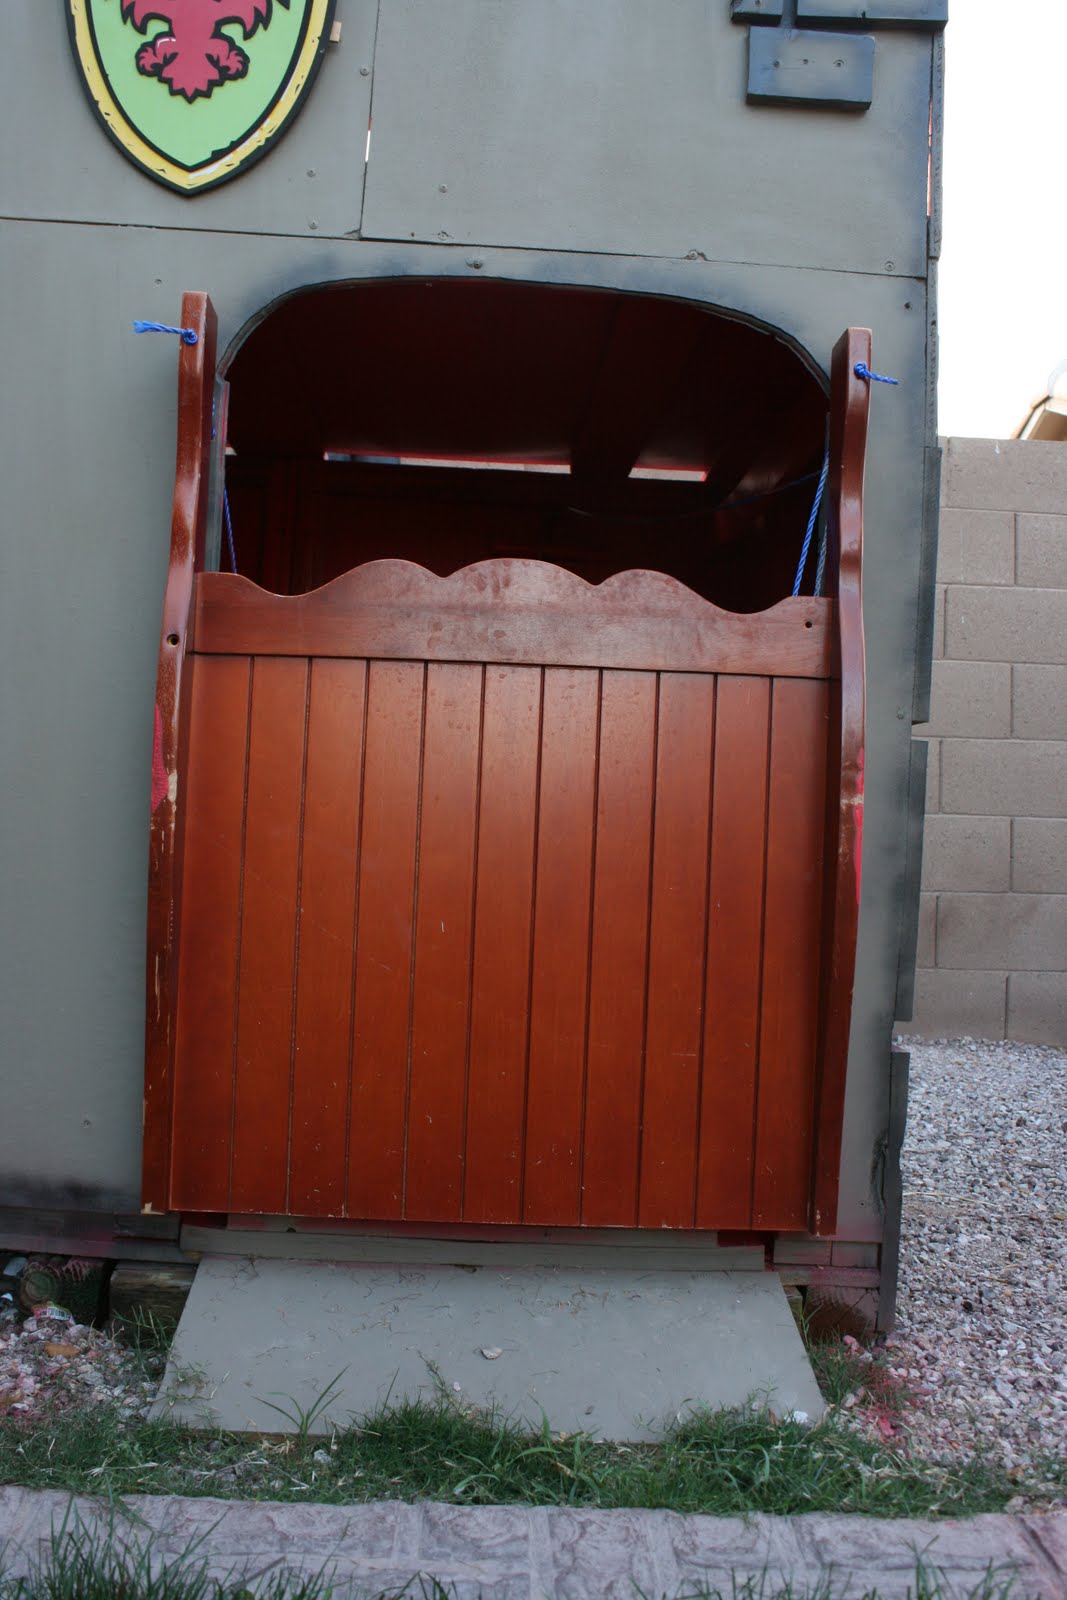
So he and the boys would build it on their spare time and it was neat to see it going up. Remember this wood? Well, we still have crib pieces and one of the side pieces became a drawbridge, complete with a rope/pulley/lock system. They love that door.


Remember, all the paint used was from the oops sections. We thought it was a little more red, but thats ok, it can always be repainted. (these seats were supposed to be used as pillars, but are now used...as seats, or they could be used as bins for their stuff) They were bought at Ikea for 3.00 a piece.


For detailing, he took scrap pieces of wood and screwed them on the castle and spray painted black to distress


The top still needs a ladder to it and I keep toying around the idea of a shade


So many fun possibilities for this! Pennants on top, pillows inside for a reading area, little paintings on the walls, what a great space to get creative with!


Pin It

Saturday, July 10, 2010

Shields and Swords

Inspired from the Sleeping Beauty movie, My oldest requested a shield. My husband went out and made them both shields and swords and then I painted them. Free and easy, and everyone was happy!


The shield is made from mdf, with two tiny holes drilled in and a shoelace for the handle. The lions are vinyl stickers from my cutter. Everything else is just painted with acrylic paint. 

Pin It

Tuesday, November 3, 2009

DIY A Necklace Organizer

My jewelry has been out of control for awhile, and I was really getting tired of digging for it in random places in my dresser! I organized it all in my tiny little jewelry box and then took the "fun" necklaces (aka the really big ones) and decorated a board and hung it up in the closet...out of the way and now I can actually see what I have when I am getting dressed! I had all the materials here and it went really fast.  I am sure I am not the first person to come up with this but I thought I would share...

What I used:

1x4 board cut to desired length
patterned paper ..I used double sided and 3 pieces of different patterns.
mod podge
brush
paint
cup hooks
Now whenever I find the straggler necklaces that are MIA, I will officially be organized! (And there is room for a second one too :))

Pin It

Tuesday, April 21, 2009

Little Tree, Little Tree

This week as I am getting ready for the upcoming boutique on Saturday, I was trying to think of a way to display the necklaces I have been working on. So today, my husband and I trekked to Home Depot to see what we could make.

 It first started out that we were going to do an easel type board that I would decorate and put hooks on.  Well. Home Depot just didnt have the right type of wood at the right price, and honestly, I wasn't feeling the easel board.

Then we went over to Lowe's, which I always like to go to a lot more. We looked at their wood and found something but I still wasn't feeling it.I kept mentioning doing a tree and he would just kind of ignore it.

I went over to the dowels to pick out little pegs instead of hooks and our brains kicked into gear and together we came up with this:


 I probably still will decorate it, but I have a lot of fun ideas for it in the future too!
Pin It

Sunday, March 1, 2009

Happy as a Lark

Made this on Friday night using new Fancy Pants paper cut outs, some fun glitter, a wooden bird and vinyl with my cutter and a piece of scrap wood from my husband. I really like how it turned out!


Pin It

Monday, December 22, 2008

Sneek Peak Reveal!

Remember this post? Surprise! Its finished! (and I dont mean that in a "surprise! wow! its finished!" I mean that as in.... hahaha)

Ok, here it is:

Supplies Included:
  • wood
  • door handle
  • knobs from ikea
  • brackets from ikea
  • wooden dowl for rack
  • hinges
  • recycled kitchen bowl (my favorite and only silver bowl...its for a good cause.)
  • paint
all dishes towel and utensils with cup are from ikea


And here is the play food for it:

The first picture includes old and new felt food

And this is some awesome wooden food that Jackson got from his aunt on his birthday:


I kind of feel like we are regifting the food...but its more of helping them set it up...ya know, to get the full effect when they see it. :)

I will have action shots from Christmas later this week...with their fun aprons i (*gasp*) bought from JoAnn. Hey, you cant beat a dollar! Pin It

LinkWithin

Related Posts with Thumbnails