I actually saw the original idea on Marah Johnson's facebook (I love her work!!) and decided that Ellie's nursery needed one of these. Or should I say extremely fancy storage room, the girl never uses that room!

 Pin It
Pin It
Pin It


 Pin It


 Pin It


 Pin It
 Pin It
When Jackson moved in with Jaden, we never really made the room feel like it was for both of them. We basically put a mattress under Jaden’s bed and called it good.
Well, like it or not,our boys are growing. And as they are growing, we realized they need more space in there too.
It was time to redo their room, and we focused on two things. 1. making the room feel like it was for both of them. and 2. giving them the maximum amount of space possible without getting rid of all of their stuff ![]()
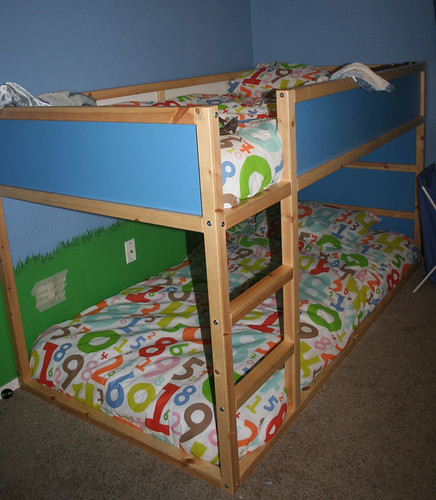
Here’s some pictures of when it was just Jaden’s room:


Then Jackson moved in and we changed it around more. Added a new bookshelf, put some vinyl up, rearranged toys, etc. Here’s the before bed:
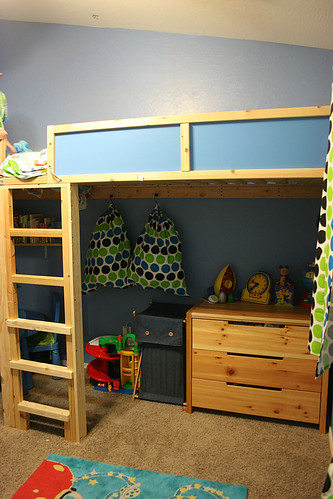
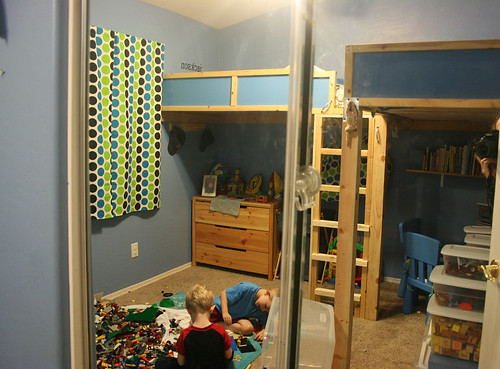
And here’s what we have now!
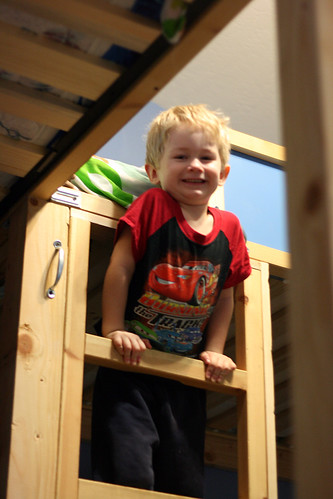
Micah took the bed Jaden used, and made it into two loft beds. He’s so talented, and they look so good. I was really concerned about them being up so high and having to climb up and down, but they are just monkey-ing it up! I have no worries now! I am seriously so proud of what Micah did with these beds. He’s a rock star.
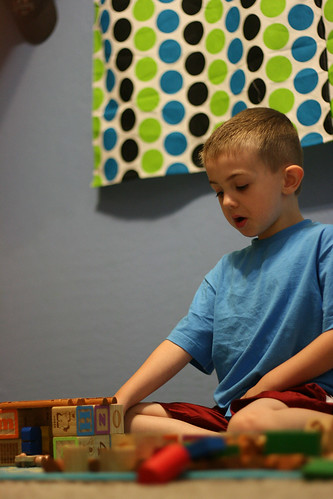
Walking in: the whole right half is just play area. I ordered some fabric and made curtains, drawstring bags on hooks and then I am going to make some floor pillows with the same fabric that they can shove their stuffed animals in. Functional but comfortable to hang out on!
We got rid of the clouds, the vinyl quote and airplanes and the grass. That was a lot more work than you would think!
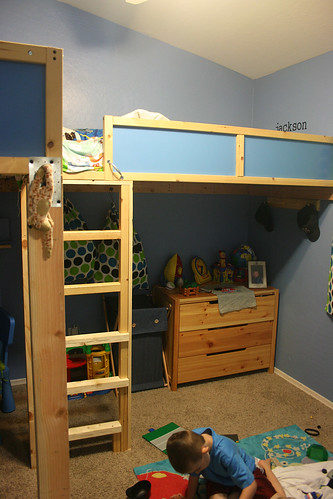
Jackson’s bed
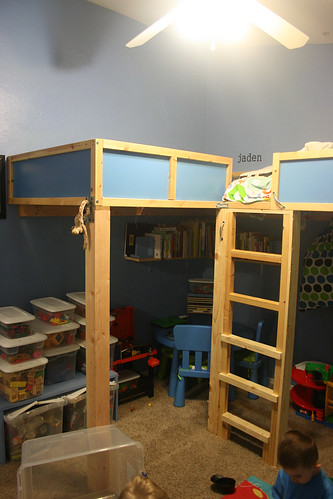
Jaden’s bed

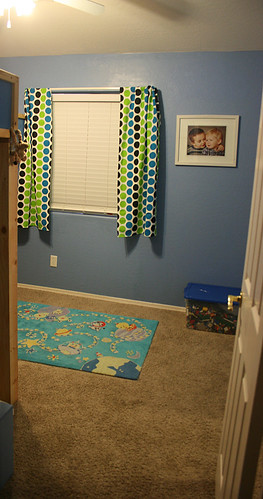
door area

room view from the mirror: (and the closet is all nice and organized again! yay! I have toy boxes in there that have smaller pieces that they have to ask to play with. and the dress up is in there too. we have a lock on it so that its more controlled. plus with the lock, no added laundry because of millions of clothing changes through the day.)
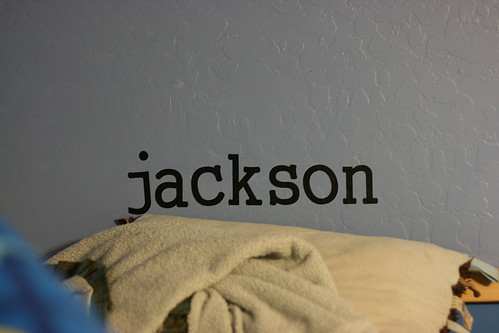
And above each head, their names:
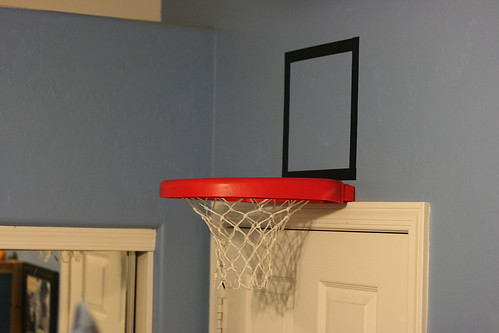
Added a square to the basketball hoop. This is Jackson’s favorite part of the room. I still need to put a logo in the square. I am thinking a fun “t”
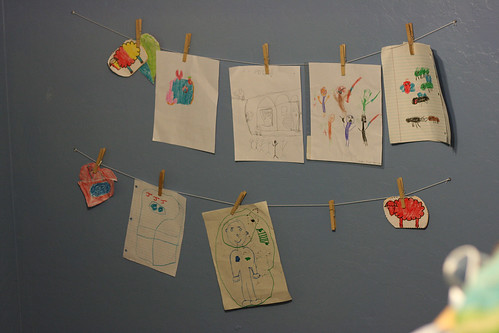
Artwork wall so far:
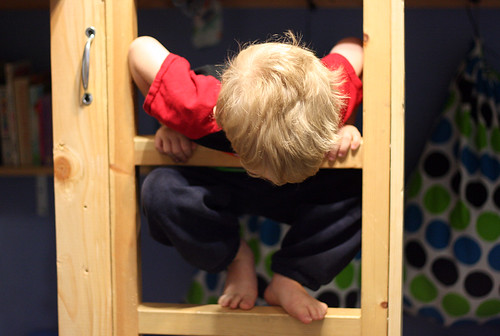
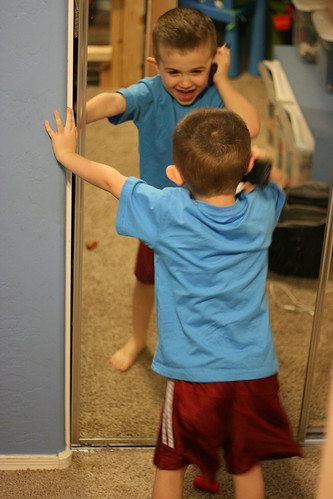
The steps are a perfect place to pout…

or peek!

or just hang out.
Then we centered the fan above the rug so that no one gets knocked in the head. It changed up the lighting, but we added a light over their table under the bed, which balanced it all out.
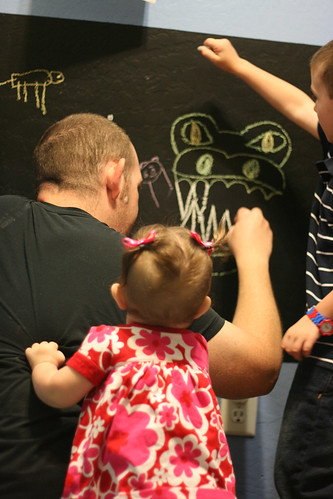
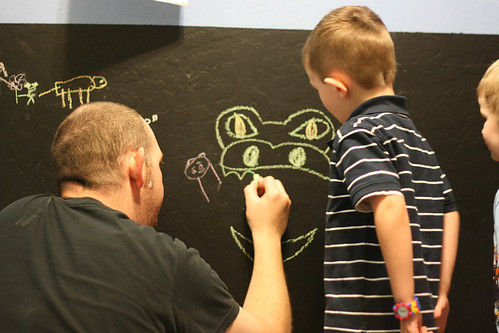
We also added a chalkboard wall.

Daddy has been enjoying it too!
They love it, we love it. Everything has a place. It’s easy to clean and spacious to play in. Everyone is happy!