Friday, February 25, 2011

Ruffle Cardigan

This afternoon I drew up a pattern to make this ruffle cardigan to do a tutorial! All I need to do is tweak it in a few spots (mostly the back) and I will add it here with step by step directions. We have a bunch of sickies in the house still (me included) but I am hoping there will not be too much of a delay.

Here's a sneak peek!


Pin It

Saturday, February 19, 2011

Martha Stewart Fringe Scissors

I know it seems like all I do is sew anymore, but I really do other things too! Since I still really enjoy scrapbooking and love some of those fun vintage trends on pages right now, I was so excited to see that Martha Stewart makes fringe scissors now!
I was planning on ordering them, because its a lot easier than taking my crew to Michael's (since I knew they sold Martha Stewart) but decided to wait until my next amazon order (I buy my laundry detergent among other things on amazon :)). 

Last night, the baby and I snuck out of the house for a bit to escape the sickness that has taken over our family. Stalling the inevitable, we walked around Joann's until we had seen everything. The last place we walked around was the greeting cards, and low and behold, do you know what we stumbled upon? A Martha Stewart line. Maybe this isn't new there, but it sure was new to me! I got even more excited when I saw the fringe scissors, on SALE! Score! I may have even done a happy dance. 


I really think there are a lot of possibilities with these fun and funky scissors. I love the look of festooning and now with these, I can make my own! 


 So many possibilities! What else can you use these for? :)
Pin It

Thursday, February 17, 2011

So I was cleaning out the baby's closet...

getting rid of the clothes that no longer fit (that's always really difficult for me to do!) and I realized that about half of her clothes that fit now are handmade by me. I hung up the handmade ones and took a picture:


How cool is that?


Pin It

Saturday, February 12, 2011

Prudent Baby Pretty Party Dress

Don't you love free patterns? I always think its so generous and cool!


I found this one recently over at Prudent Baby and since it was a size that is perfect for us right now, I thought it would be a fun Saturday sewing project! 

I lengthened the sleeves quite a bit to make it a 3/4 length sleeve, skipped the cuff and also lengthened the dress a lot (I have a long legged little one who is off the charts in height and also 13 months old). I think if I had made it the pattern length, it might have worked as a tunic instead. 


She loves her purses. And what party dress isn't complete without a sequin purse?


Pin It

Wednesday, February 9, 2011

Patching up those jeans part II

Over the summer, I posted about patching jeans. Although they worked great, my knobby knee-ed boy has now holed up four pairs of school jeans, leaving him down to one or two good pairs. I love creative and fun patches, but I wanted to tone it down a bit for school. I had bought a bunch on sale, because his school dress code is either school uniform (only way he can wear shorts) or jeans without holes. So it was time to patch them up so that I wasn't having to wash every other day.


My husband was fortunate enough to have such a sweet grandma that would always patch his jeans up for him. Even when we were dating, he would work on cars, rip his pants out and send them down to Grandma, who would patch them up so sturdy and nice for him again. I thought I would patch Jaden's up using the same method that she used.

The challenging part between doing my husband's pants and doing my son's is the size difference. It is a LOT easier to put pants on through the sewing machine from an adult than it is a skinny pant leg. I wrestled and sweated and pricked fingers and groaned, but I did it!

Here's how the whole process works:

Gather thread, recycled denim for patches, sewing machine, scissors ands jeans to mend.

I chose a bunch of different colors so I could match the thread up a bit to the jeans I was mending. The bobbin color doesn't matter if you only sew on the right side


The denim that you are using as patches also do not matter in color because it will be inside of the jeans, unseen.


Now cut a patch out thats bigger than your hole:


turn jean leg inside out, and pin patch over hole, making sure it covers all the hole and the weak material.


Turn leg right side out. This is what you should now see:


Next, place pant leg on machine. Its tough, and it's tight. I don't know if  I would have been able to do a pair smaller than his 5t pants.


Set machine to a zig zag stitch and stitch in rows as close as possible above, over and below hole. Your finished product should look like this:


Turn leg inside out again, remove pins and carefully trim patch.


Finished! Congrats! You just saved yourself at least 10 (for a cheap pair) dollars! And really, with the right color thread, its a great fix. Its hardly noticeable, especially when caught early. Here's the first one I did, the hole is a lot larger and the thread is lighter, but it still works. Its also super messy sewing. Doesn't have to be perfect! But I do think this shows the final results better when knowing how to sew the patch on.


The other two ways that I mended his jeans were to take large denim patches, cut into squares and sew on front as typical patches. I did it in a different color to give it a bit of variety.

The last way I mended his jeans was on the bottom of the pant leg. I buy his jeans long and cuff them so thats he can grow into them, but then he walks on them anyway and puts big holes in them. I cut the frayed and holey mess and sewed in a new hem using another old pair of jeans that had to match in order to blend in. Good as new!

Doing this entire project saved a pair of old navy jeans, two children's place jeans and a pair of target jeans.  Success!

Pin It

Monday, February 7, 2011

Dress tutorial coming soon :)

So maybe I am kind of a nerd, but every Saturday practically since she a couple of months old, I have loved to try to make it a goal to make Ellie a dress for church on Sunday. Whether or not she wears it that week (because she has cute store bought clothes too!) doesn't matter as much. Sometimes, I design it myself, sometimes I take something I have bought and copied it, and sometimes I will use a pattern. Its been fun thinking of new things, using fabric up that I have on stash (I rarely buy) and challenging myself to learn new things!

This Saturday, I used up some velvet I had here. I took two different dress ideas and combined them into one. The whole time I was sewing, I kept telling myself to go get the camera to make a tutorial but since I was kind of winging it, I didn't feel like I should write down the process. I think this almost every time, and then regret it. If I followed through with those thoughts, I think i would have a ton of tutorials up! Argh!

So this time, I am going to go ahead and remake it so that I can do a tutorial. ;) It  won't be anything fancy, but I love when people share their ideas and processes, why wouldn't I want to do the same?

Here is a sneak peek!

Pin It

Thursday, February 3, 2011

swing sets, forts and boys, oh my!

For a couple of years now, we have been perusing around for a swing set like the ones that CSN stores sell. There are so many great options to choose from!

We love the neighborhood parks and use them frequently, but it would be nice sometimes for them to have one of those cool swing sets to play in while they are in the backyard.

Instead of a swing set though, as we can't figure out how we would put one in the backyard the way we had designed it amongst the super cool sand box and areas for bikes and grass to run in, our oldest has been begging for a handmade clubhouse.

Stay tuned for the finished results! (as we are also!)


  Pin It

Wednesday, February 2, 2011

Leila and Ben Little Cap

This morning I was perusing blogs and saw a pattern that I was checking out, that then led me to this one.

Ok, usually I am not one to buy patterns, but I have been doing so lately because 1. it is so much easier to use measurements and patterns already done for me 2. i love that most of them go from little up to bigger sizes!

So on an impulse, I got this one, and whipped out a hat for my middle guy. I want to do another one with the argyle on it like the example on the pattern! The first one was more to see how it would turn out. He liked it!


Perfect little corduroy hat for this blustery windy cold day!

Pin It

Tuesday, February 1, 2011

Sewing for my boys

Sometimes, boys get ripped off when it comes to sewing clothes.

Everytime I am making something for Ellie, the boys will make a statement, assuming, "Oh, you makin' that for Ellie?"

So I thought I would surprise Jaden by making him a hoodie using the lil blue boo pattern I bought when they were on sale. I had some knit yardage here that waso nly a dollar a yard that worked together and it took me no time at all to make him one. When Jackson saw his brother's, he pulled me aside and asked me very sweetly if I would make him one too. No problem! I used a couple of old tshirts micah had and completed one pretty quick!

Jaden loved his so much, he tried to wear it three days in a row!


Pin It

Saturday, January 29, 2011

Crepe Paper Roses

I have really been enjoying reading Thrifty Decorating! It's a fairly new blog that is written by a friend of mine! She has some great ideas and fun crafts that you can do in your own home as well!

This morning, my husband told me to take some "me" time, so after being inspired by this post, I gathered up the supplies I already had on hand and got to work!  I wanted to actually do the wreath like she did, but I didn't have a good base already here, so I did the Styrofoam ball instead.

You definitely burn your fingers a bit, but I think it was definitely worth it! I am actually decorating my entryway for Valentine's Day and thought this would be a great addition to it! Once I figure out what I am doing in that little area, I will definitely hang it there. I thought this was a good spot for now though. :)


Thanks Nikki for the inspiration!

Pin It
Got Pecans?
Hi there! Happy Saturday!

Recently, I received a HUGE bag of pecans to do with what I pleased! I had never before "hulled" pecans, and I didn't have a nut cracker, so I borrowed my husband's pliers and hacked into them. My goal was to not completely smash them into a million pieces.

I got about 6 cups before I called it good for the day. My thumbs were completely raw at that point and it was getting dark. I worked outside because it was such a messy ordeal, and at least there's one perk  of living in Arizona....beautiful Januaries!

I still have half the bag left to work on, but there just has to be an easier way! I googled and saw that you should put the pecans in the freezer because it helps with cracking. I will definitely try this before I go at it again!


Now what to make with them... Pin It

Thursday, January 27, 2011

Real thoughts or real rambling :)

This is an honesty post. So if you are looking for fun crafty mommy stuff, its not today. :)

I love the internet. I love twitter and facebook and blogging and all that fun stuff. Its such a great outlet  to have, especially as a stay at home mom.

I don't love the negativity; the passive aggressiveness that people have because they think they can say whatever they want since its on the internet.

But it can go the opposite way too. How sometimes people can show the happy shiny stuff, and not necessarily the "real" stuff. Who wants to though, right?

Do you ever read cool blogs or see fun status updates and get sad? Get down on yourself because you "aren't as cool", "dont measure up", "wish you had that", etc?

I do. I'll be perfectly honest.  I mean, what's so special about me? What's my purpose? I'm so lame.

You know.

And by the world's standards, I am rich. By God's standards, I am rich. What more could I want? I agree. You know the saying, "Money can't buy happiness?" It is so true. I see it so much, And even those that call themselves Christians really struggle with this. Materialism isn't as much of a struggle for me as other things are though. Physically, mentally, socially....these are things I deal with.

I struggle a bit with postpartum anxiety. But my baby is a year old! Yeah, but its true. Not enough for medication, but I do deal with it. I pray about it a lot, and I fully believe that God helps me through it.

So mix that in with constantly "comparing", even if I don't realize I am doing it, or negativity, sometimes, I want to just chuck it all out the window. Move away where there's no internet. It won't solve anything.

I just fnished getting over the flu. A horrible nasty flu that made me so sick that I dont think I have been that sick as an adult. I would have rather had all three c sections back to back than that flu!My ears are still recovering and I am even dealing with hearing loss right now!Yuck, yuck yuck! It was a recipe for disaster. Feeling sorry for myself, dealing with the normal mommyness, and seeing what I see online: It got me down.

My husband, bless his sweet heart, never quite knows what to say when I get into a funk. He sure does try, and I love him for that. But tonight he came across an article that helped me a lot! I will share it here. It focuses on Christians and comparing with churches: http://www.russellmoore.com/2011/01/27/why-facebook-and-your-church-might-be-making-you-sad/

I encourage you to read it. Surely, I am not the only one with these thoughts ;) And if I am, well, it helped me anyway!

And ok, here's a crafty picture of a hat I made my daughter.


God bless,
Pin It

Friday, January 7, 2011

Adorable beret!

Do you get sick of me talking about Lil Blue Boo? I really do love her patterns. Right now (for a super short time left I think) there is a free beret pattern available. This hat is easy and adorable.

Just "like" her on facebook and download the pattern there!

Wanted to share the one I made today for Ellie. I used a tshirt and some ribbing I had bought at Joann's. I plan on doing one for myself too!


Pin It

Monday, January 3, 2011

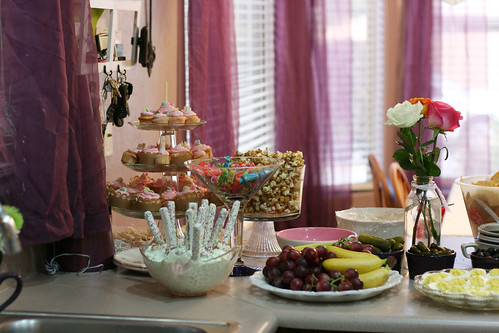
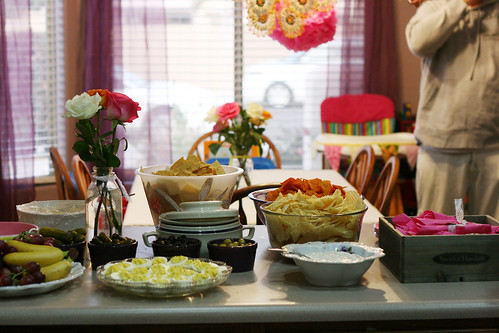
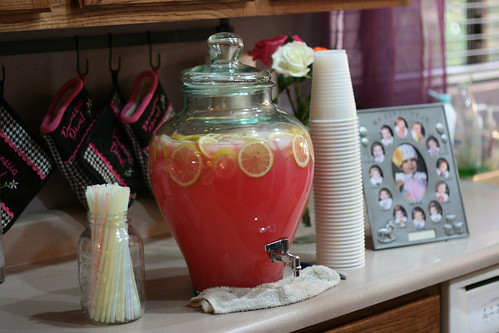
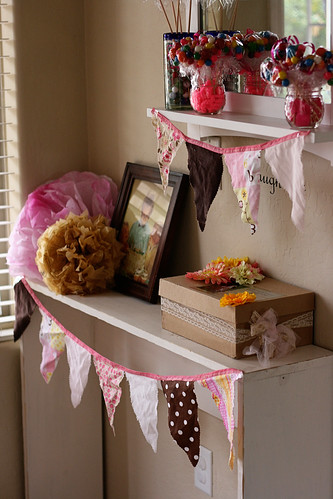
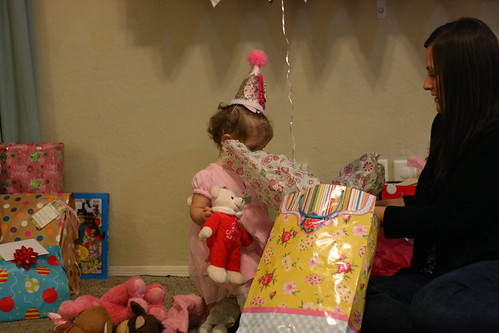
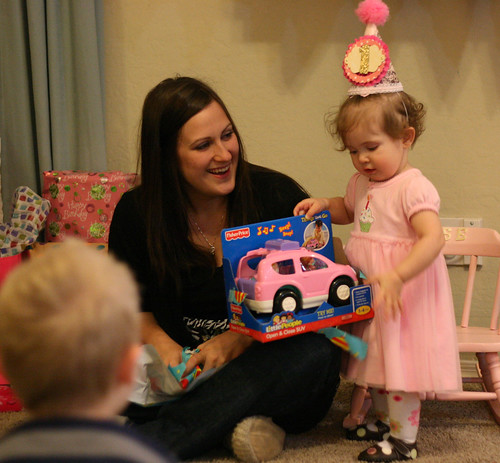
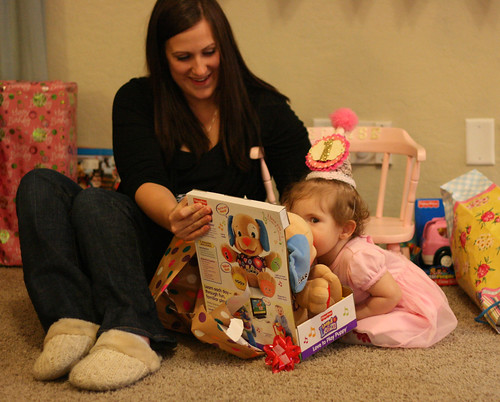
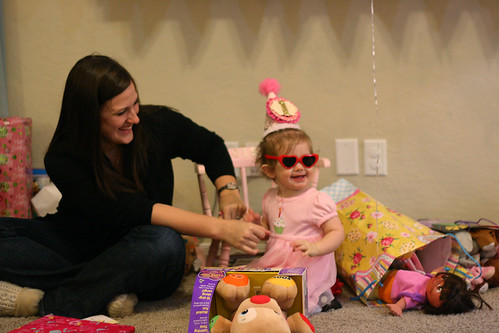
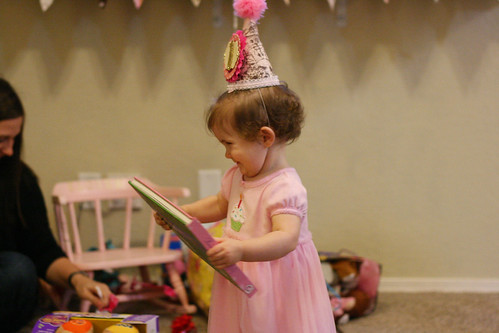
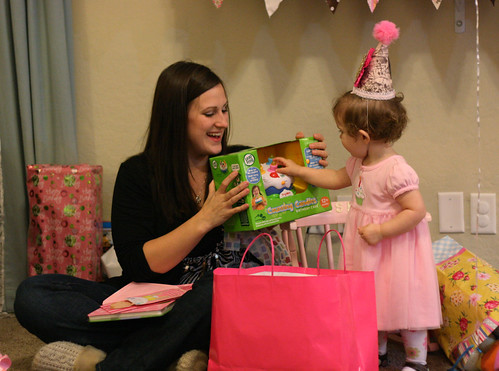
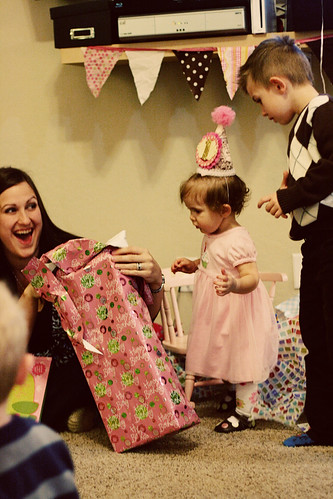
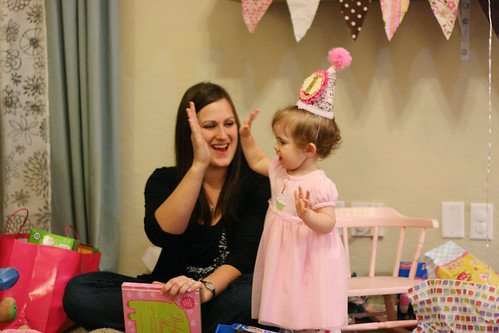
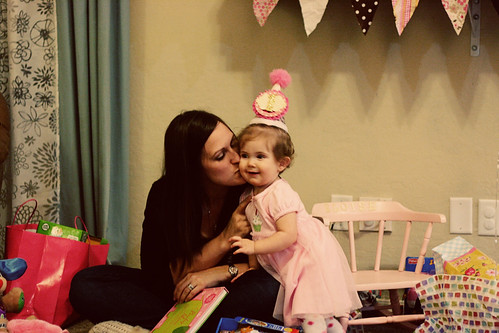
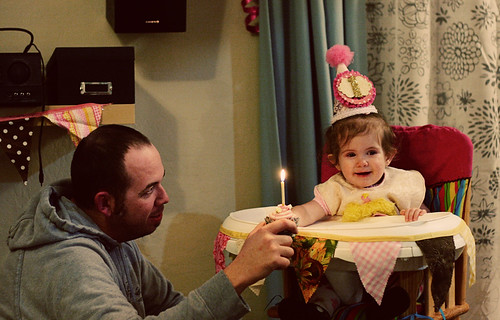
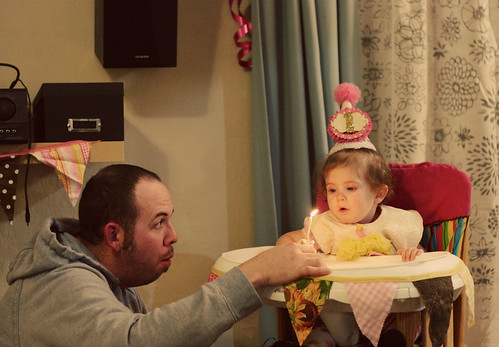
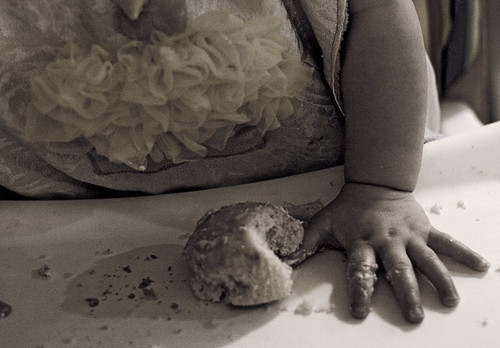
Vintage Flowery 1st Birthday! Recap

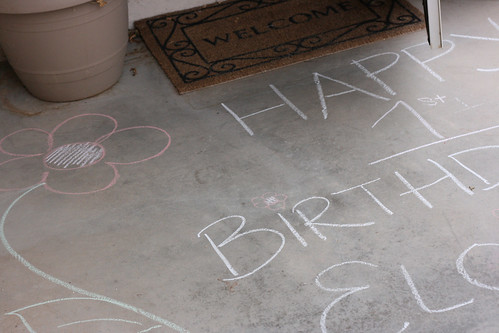
Yesterday, we celebrated our baby girl's first birthday!

We threw a party on a small budget and I was very pleased with how it turned out!

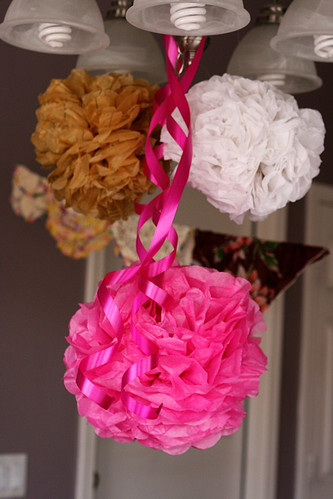
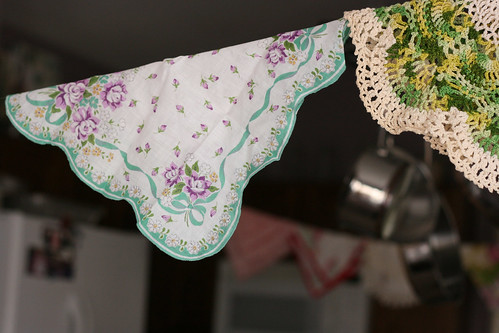
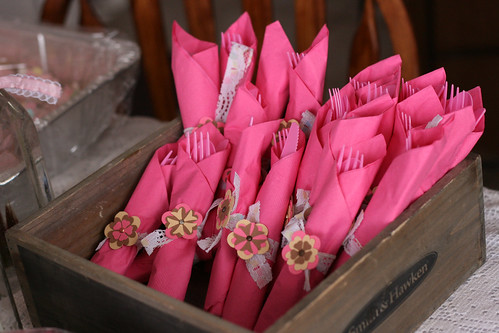
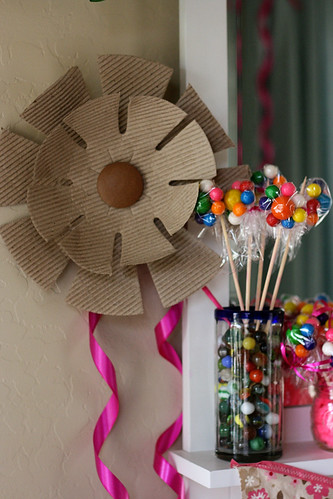
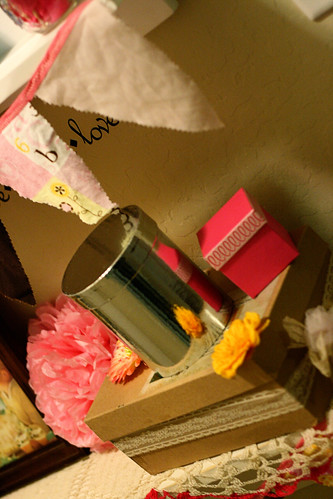
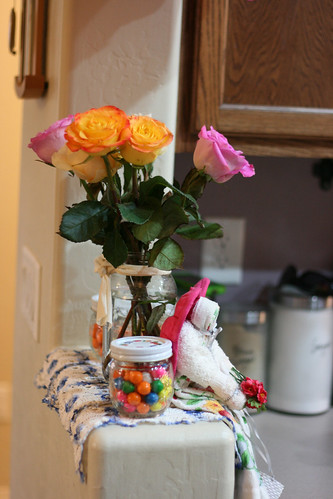
We used tissue pom poms (even some made from old sewing patterns!), curling ribbon, dishes inserts that come in packaging for flowers, mason jars, roses, handkerchiefs and doilies and gum balls for decorating.

The cake was cupcakes with pink frosting, daisy sprinkles and cupcake wrappers cut with my cutter made from wrapping paper.

I made a time capsule from stuff I had here using a photo box and ribbon, artificial flowers and buttons and a penny from 2009, and her party invitation.

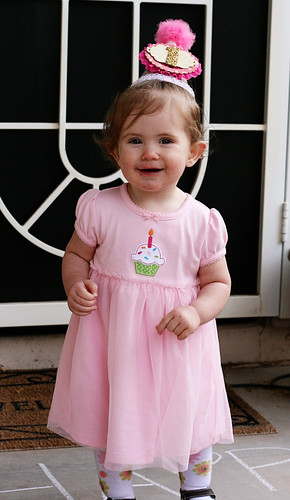
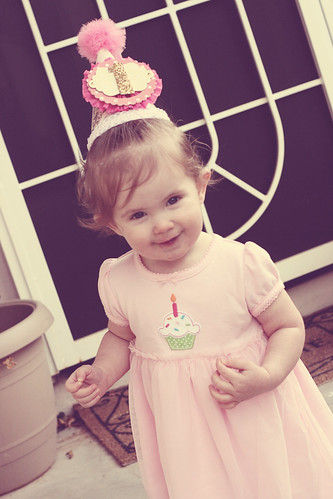
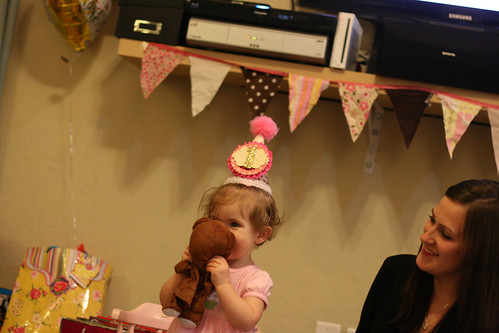
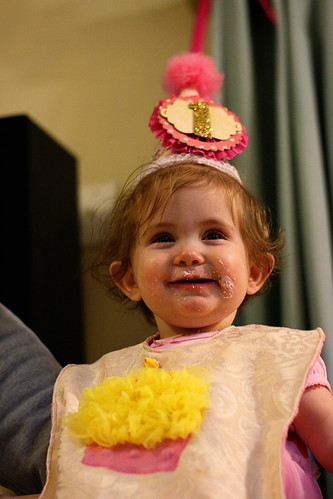
I made a birthday hat and bib from supplies I had here and also did the cloth triangle banners. My husband also put together a video on animoto.com which we watched at the party and was then put into her time capsule.

The food was made by us and the grandmas both brought as well!

Here are some pictures from the festivities: Sorry some of them are cut off, apparently they are too large for blogger and I am just too lazy to go reupload them! :) Enjoy anyway!

36
35
34
33
31
32

30 (2)
30
29
28
27
26
25
24
23
22
20
19
18
17
16
15
14
13
12 
11
10
9
8
7
6
4
3
2
1


Happy Birthday Ellie! We love you!

Pin It

LinkWithin

Related Posts with Thumbnails